How to Build a Personal Trainer App Without Coding: A Complete Guide for Fitness Professionals
Why Personal Trainers Need a Dedicated App
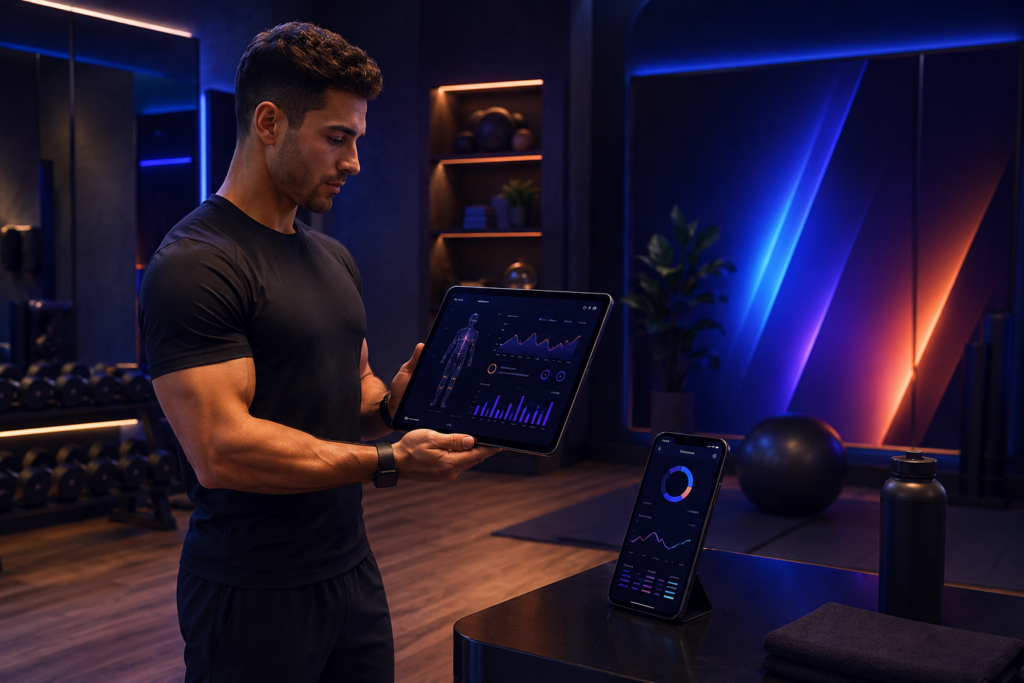
Most personal trainers start with a phone, a WhatsApp group, and a Google Sheet. That setup works until you have more than a handful of clients. Then things slip: someone forgets a session time, you lose a workout history when a client switches phones, and collecting payments means chasing individual invoices. A dedicated app solves those problems in one place, and it changes how clients perceive your business.
A branded app separates you from the trainer who sends PDFs via email. It tells clients you are serious about their results and that the experience they pay for extends beyond the gym floor. The practical upside is quieter: clients who use an app consistently attend more sessions and stay enrolled longer. When someone has your app on their home screen, your brand stays top-of-mind between bookings. That visibility directly influences retention, and retention is what makes recurring revenue predictable.
The decision to build an app used to mean a five-figure investment and months of development. That has changed. No-code platforms now let fitness professionals launch native apps in days, not months. This guide walks through exactly what you need to build a personal trainer app without coding—features that matter, platforms that work, and the real trade-offs you should know before you start.
Core Features Every Personal Trainer App Should Have
Not every app needs the same feature set, but certain capabilities separate a useful tool from a digital brochure. Below are the features that directly support the daily workflow of a trainer and the experience of a client.
Workout Plan Builder
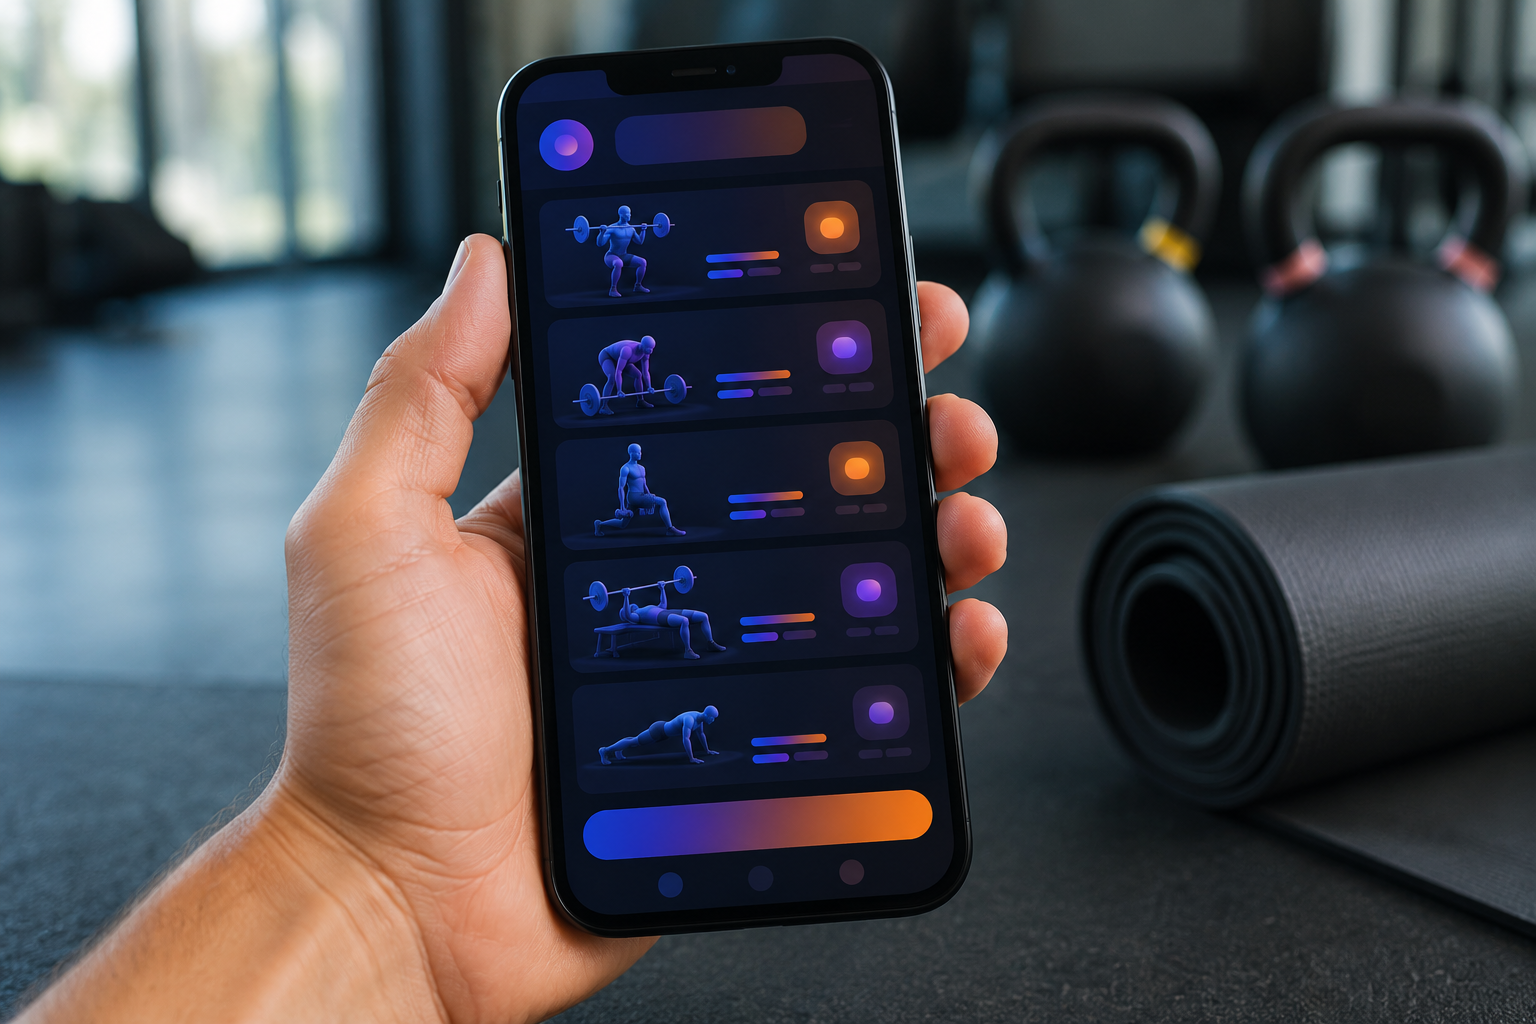
Clients need to see what to do each day. A workout plan builder lets you create templates—push day, pull day, leg day, full body—and assign them to individual clients or groups. The builder should support structure: day number, exercise name, sets, reps, rest intervals, and optional notes. Without this, you are back to sending screenshots.
Exercise Library with Video or Animation
Most clients cannot remember proper form from a verbal cue they heard three weeks ago. An exercise library with short video demonstrations or animations reduces injury risk and saves you from repeating the same instruction ten times a week. Each exercise entry should store a name, a video URL or GIF, target muscle group, equipment needed, and difficulty level.
Scheduling and Booking
Clients should see your available slots, book a session, and receive an automatic confirmation. The reverse is also important: you need to block personal time, set buffer between sessions, and define cancellation windows. A scheduling module that syncs with your existing calendar prevents double bookings.
Client Progress Tracking
Progress is what keeps clients motivated and paying. The app should log weight, body measurements, workout completion rates, and subjective feedback like energy level or soreness. Presenting that data over time in a simple chart gives clients a reason to stay engaged between sessions.
In-App Messaging
Separate your professional communication from personal text threads. In-app messaging should support text, image sharing, and optional read receipts. It should also be archivable so you have a record of instructions or modifications you sent months ago.
Payment and Subscription Management
Recurring billing is the backbone of a sustainable training business. The app needs a payment gateway—Stripe is the most common—that handles monthly subscriptions, one-time program purchases, or session packs. The system should automatically handle prorations, failed payments, and subscription upgrades without manual intervention.
Push Notifications
Clients forget. Push notifications remind them about scheduled sessions, uncompleted workouts, or expiring subscription payments. A well-timed notification can reduce no-shows by a meaningful margin and keep the app active in the client’s daily routine.
Wearable Integration (Optional but Valued)
If you work with clients who own an Apple Watch, Garmin, or Fitbit, pulling step count, heart rate, or sleep data into the app gives you context for how their lifestyle affects training. This is not essential for an MVP, but it adds depth when you are ready to differentiate.
No-Code vs. Custom Development: What’s Realistic?
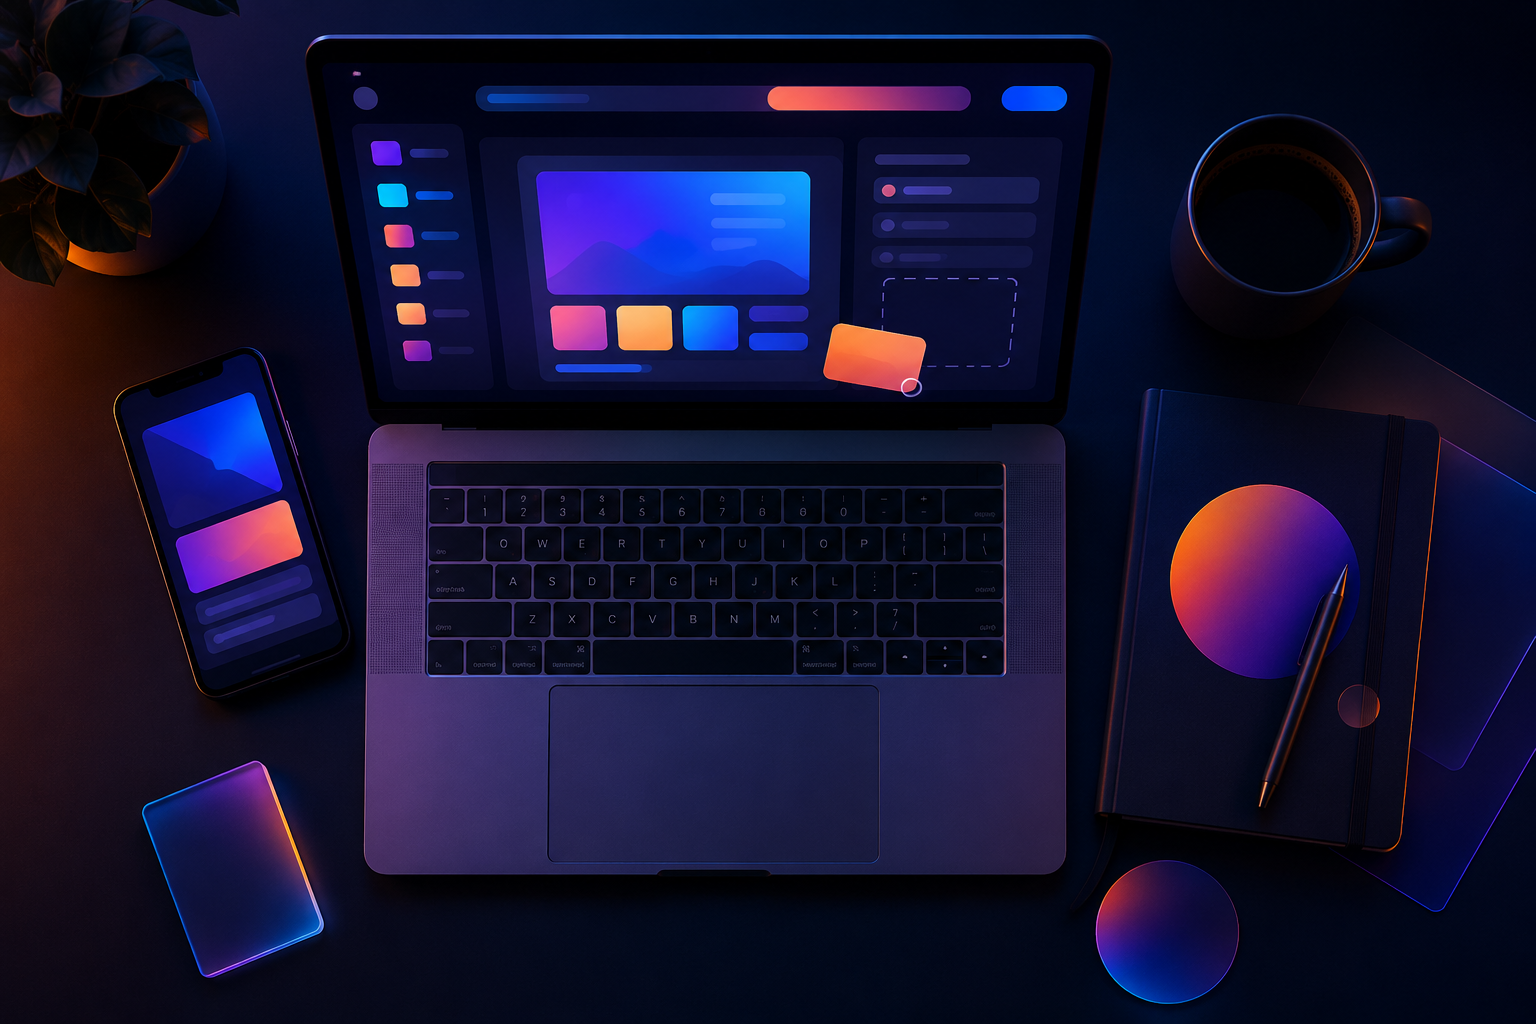
The honest answer depends on your client count, budget, and tolerance for ongoing maintenance. Let’s compare the two paths directly.
| Factor | No-Code Builder | Custom Development |
|---|---|---|
| Time to launch | 1 to 4 weeks | 3 to 9 months |
| Upfront cost | $0 to $200/month | $15,000 to $80,000 |
| Technical skill required | None or minimal | Developer team needed |
| Feature flexibility | Limited to available components | Full control |
| Maintenance burden | Platform handles hosting and updates | You own bugs, server costs, and version updates |
| Monetization support | Built-in (Stripe, Apple Pay, Google Pay) | Integrate from scratch |
| Scalability ceiling | Moderate (thousands of users) | High (millions of users) |
For a solo trainer or a small studio with up to a few hundred clients, no-code is the realistic choice. You can launch before you lose momentum, iterate based on real feedback, and keep monthly costs under what a single extra client pays. Custom development makes sense when you need deeply custom logic—complex AI-driven program adjustments, real-time biomechanical analysis, or integration with proprietary hardware. Those use cases are rare for most fitness professionals.
The risk with custom development is not just cost; it is the chance that you spend six months building something you could have tested in a week with a no-code tool, only to discover clients do not use a specific feature the way you expected. No-code lets you validate before you invest heavily. If you later outgrow the platform, you have real usage data to hand to a developer.
Choosing the Right No-Code Platform for Your Fitness App
Not all no-code platforms are built for the same job. A general-purpose app builder like Bubble or Adalo gives you wide flexibility but requires you to design the database schema, build the UI from scratch, and manage integrations yourself. A specialized fitness app builder like AppCreator provides pre-built components—workout libraries, scheduling calendars, client profiles—that shorten the build time significantly. Both approaches work, but the trade-offs matter.
Criteria to Evaluate
- Native app output: Does the platform generate true native code for iOS and Android, or does it wrap a web view? Native apps perform better and pass app store review more reliably.
- PWA support: If you want clients to install the app without going through an app store, a progressive web app is a valid alternative. Some platforms output both native and PWA from the same project.
- Database capabilities: Your app will store client data, workout plans, and progress logs. The platform needs a relational database or a structured data model that supports queries and user-specific access.
- Monetization features: Look for built-in support for subscriptions and in-app purchases. Integrating Stripe manually on a no-code platform is possible but adds complexity.
- Publishing assistance: Submitting to the Apple App Store involves a review process that rejects apps for missing privacy policies or broken login flows. Some platforms offer guided publishing or handle submission on your behalf.
AppCreator was built specifically for app types that recur frequently—fitness, coaching, service booking—and includes an AI builder that generates a first draft of your app from a text description. That can cut the initial setup time to minutes rather than hours. For a personal trainer app, the relevant pre-built modules include workout plan templates, exercise libraries, client management, and integrated payments. The platform also supports converting an existing website into a native app, which is useful if you already have content and want to repurpose it without rebuilding.
If you choose a general platform like Bubble, you gain full control over design and logic, but you will spend time building the fitness-specific parts yourself. Adalo has a visual builder that is easier for beginners but offers less flexibility on the backend. Evaluate based on your comfort level and the complexity of the features you need from day one.

Step-by-Step: Building Your App with a No-Code Builder
The following steps describe the general process using a no-code platform. Exact button labels and menu locations vary, but the sequence is consistent across most tools.
1. Sign Up and Create a Project
Choose your platform and create an account. Most no-code builders offer a free tier that lets you build and preview the app before paying. Start with that. Give your project a name—use something client-facing so you do not have to rename later.
2. Choose a Template or Start from Scratch
Several platforms offer template for fitness or coaching apps. A template gives you a pre-built layout with a workout screen, calendar, and client list. If you use a template, you skip the blank-canvas intimidation and begin customizing immediately. If your platform does not have a fitness template, create the bottom navigation structure first: typically, a home screen, workout plan screen, schedule screen, progress screen, and profile screen.
3. Customize the Design
Upload your brand colors, logo, and font choices. The app should look professional because clients will compare it to the design quality of apps like Nike Training Club or Peloton. Keep the interface simple—one primary action per screen. You are not building a social network; you are building a utility that clients open to see what to do next.
4. Add Features via Drag-and-Drop
Add screens and components from the platform’s library. A workout plan screen typically needs a list component, a form to input sets and reps, and a media viewer for exercise videos. A scheduling screen needs a calendar component and time-slot picker. Most no-code platforms let you drag these elements into place and configure them through a properties panel.
5. Set Up User Roles
Create two user types: trainer (admin) and client. The trainer should see all client data, manage workout assignments, and view revenue reports. The client should see only their own plan, schedule, and progress. Configure permissions so that client users cannot access other clients’ data. This distinction is also required by app store review.
6. Integrate a Payment Gateway
Connect Stripe or the platform’s built-in payments. Create a pricing page where clients choose a plan—monthly subscription, session pack, or one-time program purchase. Set up webhook handling for subscription renewals and failed payments if the platform supports it. Test the full flow with a test card before inviting real clients.
7. Preview and Iterate
Preview the app on your phone using the platform’s preview app or a test build. Go through every flow as both a trainer and a client. Check that notifications arrive, payments process, and data saves correctly. Collect feedback from one or two trusted clients before the official launch.
Creating Workout Plans and Exercise Libraries Without Code
The workout plan is the core value of your app. Getting it right means structuring data so that you can build plans quickly and clients can follow them without confusion.
Structuring the Exercise Library
Start with a database table for exercises. Each exercise should be a record with fields for name, description, muscle group, equipment needed, difficulty level, and a media URL (video or animated GIF). Many no-code platforms allow you to display videos inline from YouTube or Vimeo—use unlisted videos to keep them private to your app.
Populate the library with the exercises you use most frequently. A typical personal trainer might start with 50 to 100 exercises covering chest, back, legs, shoulders, arms, and core. You can add more over time. The key is to have each exercise reusable across multiple workout plans so that you are not re-entering data every time you write a program.
Building Workout Plans
A workout plan consists of days, and each day contains exercises with assigned sets, reps, rest, and order. In a no-code context, you might have a “Workout Plan” table linked to a “Workout Day” table, which in turn links to records in the exercise library. This relational structure lets you reuse the same exercise in different plans and automatically update all instances when you correct a video link or description.
Most no-code platforms support this through a relational database or lookup fields. If the platform has an AI content generation feature, you can describe a training goal—”4-week upper/lower split for hypertrophy, intermediate level”—and have a first draft generated automatically. You then review and adjust before assigning it to clients. AppCreator includes this type of AI-assisted plan generation, which speeds up the initial content creation process significantly.
Assigning Plans to Clients
Once a plan is created, assign it to a client with a start date. Plans can repeat weekly or have a defined duration. The client’s app should display the current day’s workout when they open the app, with previous days marked as completed or missed. This simple feedback loop is what builds the habit of opening the app daily.
Scheduling and Booking: Let Clients Reserve Sessions Easily
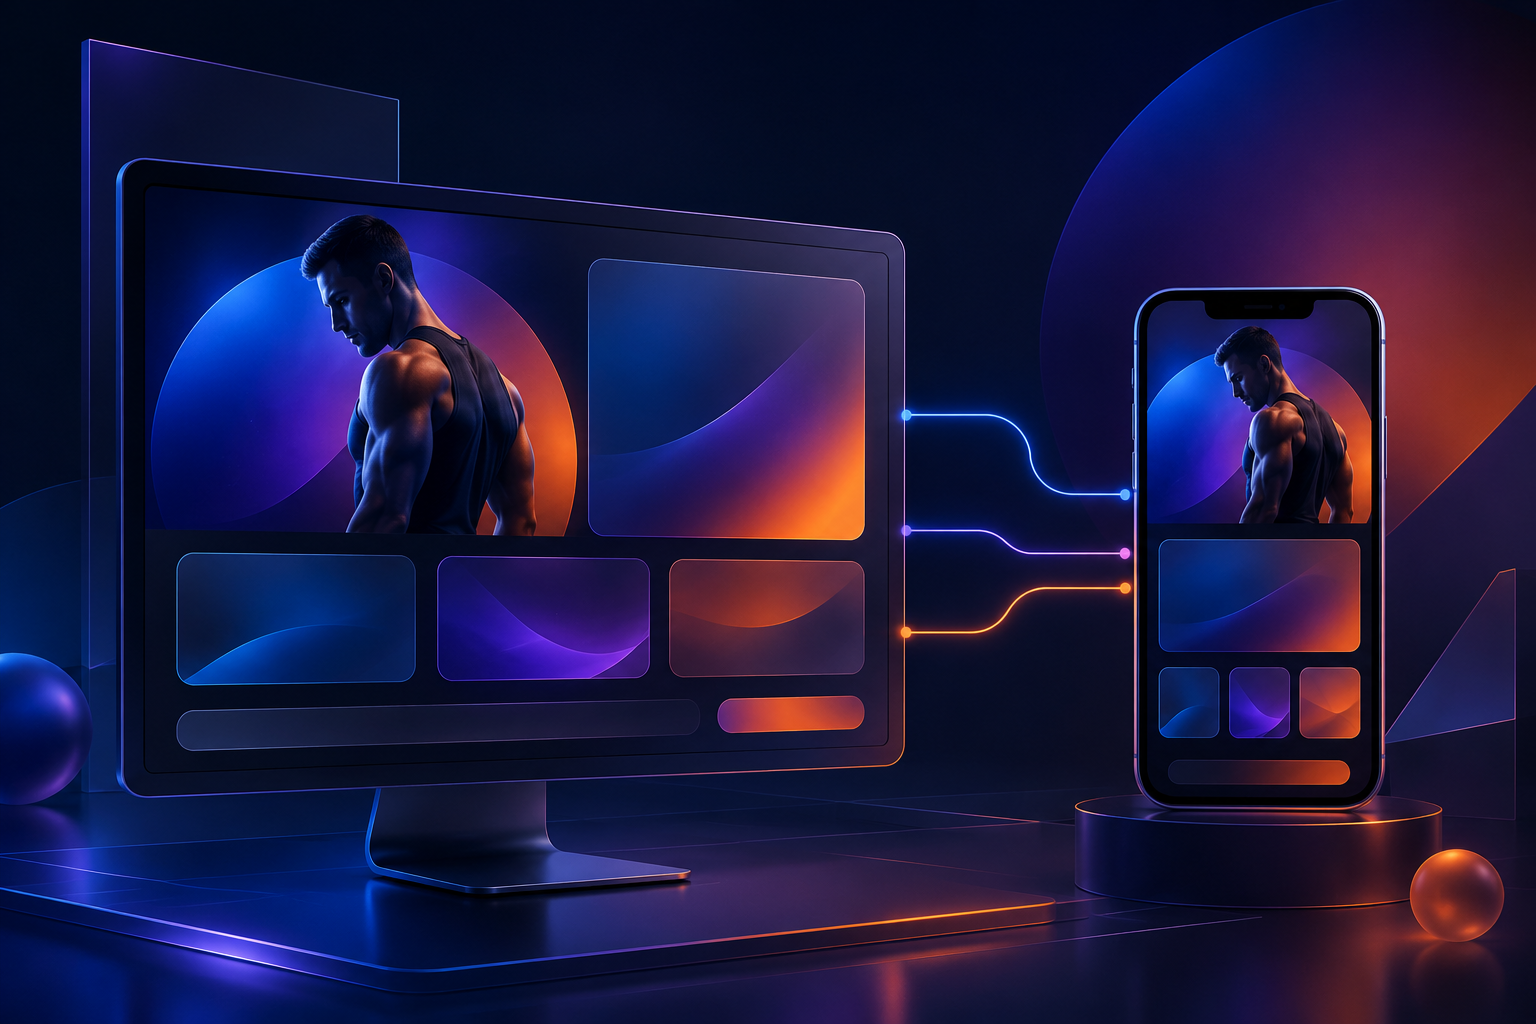
Scheduling is one of the features where a dedicated app outperforms a shared calendar link. Having the booking flow inside the app keeps clients in your ecosystem and reduces the likelihood of them booking on a third-party site and forgetting.
Implementing a Calendar with Time Slots
The scheduling module should let you define your weekly availability—days and time ranges—and then automatically generate bookable slots based on session duration. For example, if you work Monday to Friday from 8 AM to 12 PM and each session lasts 60 minutes, the system creates slots at 8, 9, 10, and 11. Clients see only available slots, book one, and receive an instant confirmation.
Setting Availability and Buffer
You need to block personal time without deleting your entire schedule each week. Look for a scheduler that supports recurring availability with exceptions (holidays, appointments). Buffer time between sessions is also important—15 minutes gives you time to hydrate, take notes, and reset the space between clients.
Calendar Sync
Integrating with Google Calendar or Outlook via a no-code connector like Zapier or Make ensures events appear in your primary calendar without manual entry. When a client books through the app, the event should appear in your calendar with the client’s name, contact info, and any pre-session notes they submitted.
Cancellation Policies and Reminders
Define how far in advance clients can cancel (e.g., 6 hours) and what happens after that—whether they forfeit the session or incur a penalty. The app should send a push notification reminder 24 hours before and again 1 hour before the session. Automated reminders are one of the simplest ways to reduce no-shows.
Client Management and Progress Tracking
A personal trainer app without client management is just a workout library. The management side is what turns it into a business tool.
Client Profiles
Each client should have a profile that stores contact details, emergency contact, goals, health notes, and injury history. These fields are filled once and referenced each session. The trainer should be able to access any client’s profile from a list, searchable by name or status (active, paused, inactive).
Logging Measurements and Workout Completion
Clients can log weight, body fat percentage (if they have calipers or a smart scale), and measurements for chest, waist, hips, arms, and thighs. The trainer can also enter this data during sessions. On the workout side, the app should let clients mark each exercise as completed, log the weight used, and optionally rate the difficulty. This data accumulates to show trends.
Progress Charts
Displaying weight or body fat over time in a line chart gives clients a visual reason to stay consistent. The chart should show a moving average to smooth out daily fluctuations. Many no-code platforms include a chart component that can be bound to a database query filtered by the logged-in user. If the platform does not have a chart component, you can embed one from a service like Chart.js via an iframe or custom code block, though that introduces a small amount of technical complexity.
Trainer Notes
After each session, the trainer should be able to write private notes about the client’s performance, mood, form corrections, and next steps. These notes are visible only to the trainer and can be referenced when writing the next program. A simple text field per session date is sufficient.
Monetizing Your Personal Trainer App
Your app can generate revenue in several ways. The model you choose should match how your business currently charges clients.
Monthly Subscription
The most common model for personal trainer apps. Clients pay a recurring fee—weekly, monthly, or quarterly—for access to their customized plan, scheduling, and messaging. Recurring billing provides predictable cash flow and aligns with the ongoing nature of fitness coaching. App stores typically take a 15–30% cut of in-app subscription revenue in the first year, though that drops for longer-term subscribers. Some platforms let you process payments outside the app via Stripe to avoid the app store commission, but that restricts how you can present the payment flow within the app itself.
In-App Purchases
If you sell program bundles—a 12-week fat loss program, a marathon prep plan, a postpartum return-to-training guide—each can be a one-time in-app purchase. This model works well if you have evergreen content that does not require ongoing coaching. Clients buy the program and follow it self-guided.
Freemium Model
Offer a free tier that includes a basic workout library and a paid tier with personalized programming, scheduling, and direct messaging. The free tier acts as a lead generation funnel. Clients experience the app’s quality before committing to payment.
Session Packs
Clients purchase a pack of 5, 10, or 20 sessions and book them one at a time. The app deducts from their balance with each booking. This model bridges the gap between pay-per-session and subscription and is familiar to clients who have worked with trainers before.
Payment gateways like Stripe, Apple Pay, and Google Pay handle the transaction processing. Most no-code platforms have built-in integration with at least one of these. Test the entire payment flow—signup, payment, access grant, recurring charge, failed payment handling—before launching.
Converting an Existing Website into a Personal Trainer App
If you already have a website with workout content, blog posts, or a membership area, converting it into an app is faster than building from scratch. Web-to-app converters take your existing site and wrap it in a native shell, producing an APK and IPA that you can submit to app stores.
Pros of Web-to-App Conversion
- Content syncs automatically: update your website, and the app updates without a new build.
- Lower cost: no need to rebuild the UI in a no-code builder.
- Faster launch: a basic conversion can be done in hours.
Cons of Web-to-App Conversion
- Limited native functionality: push notifications, payments, and offline access require extra configuration.
- Performance: web views are slower than native UI, especially for animations or video-heavy pages.
- App store rejection risk: Apple has rejected apps that are “too web-like” if they lack sufficient native behavior.
AppCreator includes a web-to-app converter that adds push notification support and basic offline caching to the wrapped site. This approach is a good fit for trainers whose primary value is content—instructional videos, PDF guides, blog posts—rather than interactive features like scheduling or progress tracking. If you later need native functionality, you can rebuild the interactive parts in the no-code builder and keep the content synced from your site.
Testing and Publishing Your App on App Stores
Getting your app into the Apple App Store and Google Play Store involves two separate processes with different requirements. Both require a developer account and adherence to their review guidelines.
Apple App Store
An Apple Developer account costs $99 per year. You need to provide an app icon in multiple sizes, screenshots for different device sizes, a privacy policy URL, and a support email. Apple’s review team checks for broken functionality, placeholder content, and compliance with their design guidelines. Common rejection reasons for fitness apps include incomplete test accounts, missing privacy policy, and login flows that do not work correctly. Prepare a test account with a filled-out client profile so the reviewer can see the app’s features in action.
Google Play Store
A Google Play Developer account costs a one-time fee of $25. The submission process is less strict than Apple’s, but Google also checks for basic functionality and privacy compliance. Background location permissions for fitness tracking require additional justification during submission.
Common Rejection Reasons and How to Avoid Them
- Crash on launch: test on real devices, not just an emulator.
- Incomplete data: populate exercises, templates, and demo content so the app does not look empty.
- Missing privacy policy: link to a page that explains what data you collect and how you use it.
- Login wall without value: if you require login, ensure the reviewer can log in via a provided test account.
- Broken payment flow: test with sandbox accounts for each payment method.
Many no-code platforms offer publishing assistance or handle the build and signing process automatically. Some even provide the required metadata—descriptions, keywords, screenshots—based on your app’s content. Check whether your chosen platform offers this before you navigate the submission process alone.
Limitations of No-Code Builders and When to Upgrade
No-code platforms are powerful, but they have boundaries. Knowing where those boundaries are helps you make an informed decision about when to stay on the platform and when to invest in custom development.
What No-Code Does Well
- MVP and early-stage apps with standard features (CRUD operations, user authentication, push notifications, payments).
- Apps for a defined user base—hundreds to a few thousand users—without extreme performance requirements.
- Rapid iteration: you can change the UI, add features, and deploy updates in minutes.
Where No-Code Falls Short
- Complex business logic: if you need a custom algorithm to auto-adjust training volumes based on client response, no-code components may not support it without a workaround.
- Custom animations and transitions: the built-in animation capabilities are limited compared to native development frameworks like SwiftUI or Jetpack Compose.
- Heavy data processing: apps that analyze large datasets—for example, comparing thousands of client workouts to find pattern—will struggle with no-code database limitations.
- Advanced AI features: while some platforms offer AI-assisted content generation, building a custom AI model that adjusts programs based on client feedback requires a developer.
When to Consider Upgrading
You should consider moving to custom development when your user base passes several thousand active clients and you need features that the platform cannot deliver. Another trigger is when the platform’s pricing scales with usage and becomes more expensive than hosting your own solution. For most personal trainers and studios, no-code remains the right choice for years. The key is to build with an export-friendly mindset: keep your data in a portable format (CSV exports, standard database schemas) so that if you eventually migrate, you do not lose years of client history.
Launching and Marketing Your Personal Trainer App
Building the app is the first half. Getting clients to actually download and use it is the second half, and it requires a plan before launch day.
App Store Optimization (ASO)
Your app store listing is a landing page. Choose a title that includes your primary keyword and location if you serve a local area. Write a subtitle and description that describe specific results: “track workouts, book sessions, and message your trainer—all in one app.” Screenshots should show the most valuable screens first: the workout view, the progress chart, and the booking calendar. Collect early ratings from existing clients during the first week to build social proof.
Leverage Existing Clients
Your current clients are your first users. Explain the benefits to them individually—faster booking, automated reminders, centralized progress tracking—and offer a small incentive (a free session or a discount on their next month) for installing the app and completing their profile. Their usage data and reviews validate the app for future clients.
Social Media and Email
Post a short demo video on Instagram or TikTok showing the app’s key features. Link to the app store in your bio and in email signatures. Send an email sequence to your list: announcement, walkthrough, success story from an early user, and a final call to action. Keep the messaging focused on convenience and better results, not on the technology.
Referral Discounts
Offer existing clients a discount on their next month for each new client who signs up through a referral link. Referral programs work well in fitness because clients already talk to friends about their trainer. The app makes the referral trackable and automated.
Focus on the First 100 Users
The first 100 users will reveal what works and what does not in your app. Watch their behavior: are they logging workouts daily or dropping off after the first week? Are they using the scheduling feature? Ask for feedback directly and prioritize the changes that affect retention. The goal of the early phase is not downloads; it is active usage. An app with 100 active users is more valuable than one with 1,000 downloads and 90% abandonment.
Final Checklist Before Launch
Before you submit to app stores and invite clients, run through this checklist to catch avoidable issues.
- All features work: Walk through every screen as a trainer and as a client. Test workout creation, booking, messaging, and progress logging.
- Payment flow tested: Make a test purchase using a sandbox card. Verify that the subscription renews and that a failed payment triggers a notification.
- Notifications send correctly: Set up a test booking, cancel it, and confirm that reminders and cancellations generate the expected push notifications.
- Data backup plan: Know how the platform handles backups. Can you export client data if you need to switch providers?
- Legal compliance: Post a privacy policy that covers what data you collect, why, and how users can request deletion. If you have clients in the EU, GDPR requires proper consent flows. For California clients, CCPA gives them the right to know what data is collected and to opt out of sale (which applies to data sharing with ad networks, if you use them).
- Support channel ready: Clients will have questions. Set up a support email address or an in-app chat that routes to you. Reply within 24 hours during the launch phase.
- App store metadata prepared: Title, description, keywords, screenshots, and category are filled in and reviewed.
Once all items are checked, submit to the stores and begin the rollout to your existing clients. The first week will surface issues you missed—keep a list and plan an update within two weeks to address them.
Building a personal trainer app without coding is not a compromise; it is a strategic decision that lets you launch faster, iterate based on real data, and keep your focus on training rather than debugging. The tools exist today to create a professional, native experience that supports your business goals. The next step is to start.
If you are ready to build, create your personal trainer app at www.appcreator.me and use the AI builder to generate a first draft from a simple description of your training business. The free tier gives you enough to validate the concept with real clients before committing to a paid plan. Your app is one session away from being live.
Frequently asked questions
Can I really build a personal trainer app without any coding?
Yes. No-code platforms let you create fully functional native apps using drag-and-drop editors and visual workflows. You can add workout plans, scheduling, payments, and client management without writing a single line of code.
What features should I include in my personal trainer app?
Essential features: workout plan builder, exercise library, scheduling/booking, client progress tracking, in-app messaging, payment/subscription management, push notifications, and integration with wearables like Apple Watch or Fitbit.
How do I add workout plans to my app without coding?
Most no-code app builders have a database module where you can create tables for exercises and plans. You then link plans to client profiles. Some platforms also offer AI-powered workout generators.
Can I accept payments and subscriptions inside the app?
Yes. Use Stripe, Apple Pay, or Google Pay integrations available in no-code builders. You can set up one-time payments for programs or recurring subscriptions with free trials.
How long does it take to build a personal trainer app with no-code?
Depending on complexity, you can have a basic app ready in 1–4 weeks. Most of the time goes into content creation (workout videos, descriptions) and testing. Drag-and-drop interfaces speed up development significantly.
Can I publish my app on the Apple App Store and Google Play?
Yes. No-code platforms typically generate native code for both platforms. You’ll need an Apple Developer account ($99/year) and a Google Play Developer account ($25 one-time). Many platforms provide submission guides or even direct publishing.
What if I already have a personal trainer website? Can I turn it into an app?
Yes. Some no-code builders like AppCreator offer a ‘convert website to app’ feature that wraps your site in a native container, adding push notifications and offline capabilities. This is faster but less customizable than building from scratch.
What are the limitations of no-code personal trainer apps?
Limitations include less control over complex logic, limited custom animations, and reliance on the platform’s feature set. For advanced AI coaching, custom video analysis, or heavy data processing, a custom-coded app may be needed in the long run.
How can I monetize my personal trainer app?
Common models: monthly subscription (e.g., $29.99/month), pay-per-program (buy a 12-week plan), freemium (basic free, premium paid), or in-app purchases for extra features like meal plans. You can also offer tiered pricing for different client levels.
Is there an AI app builder for personal trainer apps?
Yes, some no-code platforms use AI to generate app layouts, suggest features, or even create workout content from text prompts. For example, AppCreator includes an AI builder that helps design the app structure and populate exercise libraries.